
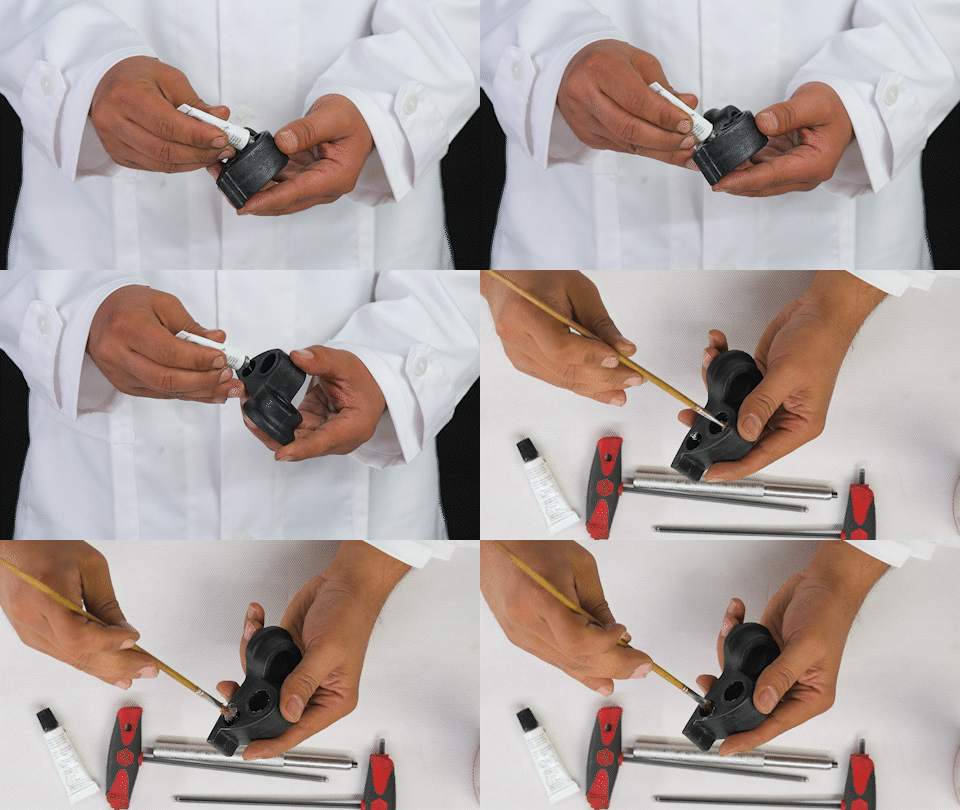

Prepare the Heel Component
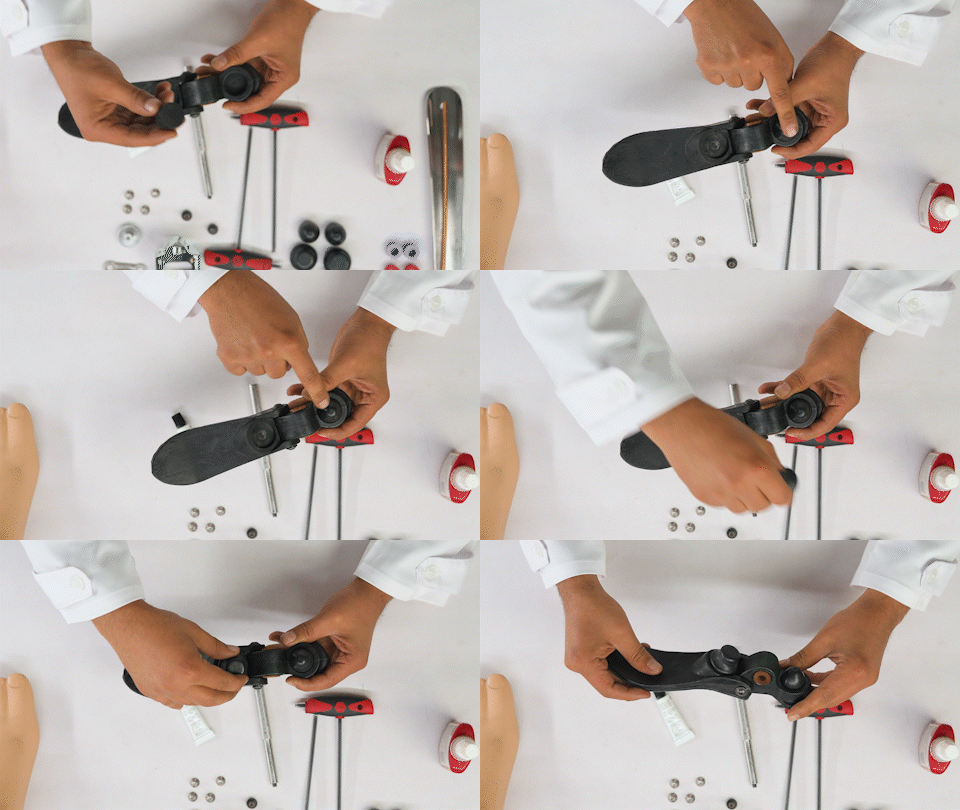
Begin with the heel component. Apply a small amount of grease to all four bushing seats and distribute it evenly across the contact surfaces using a cotton swab or small brush.

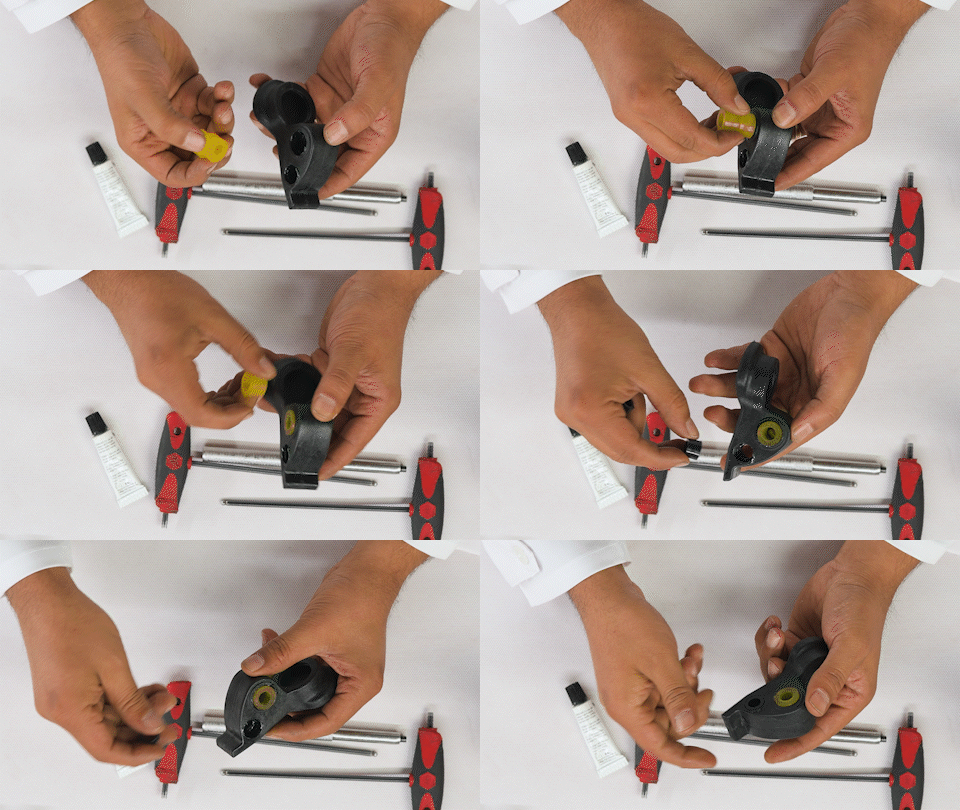
Install Bushings
Select the correct bushings according to the patient's body weight and activity level. Install the colored bushings in the upper positions and the black bushings in the lower positions. You can download the guide here.
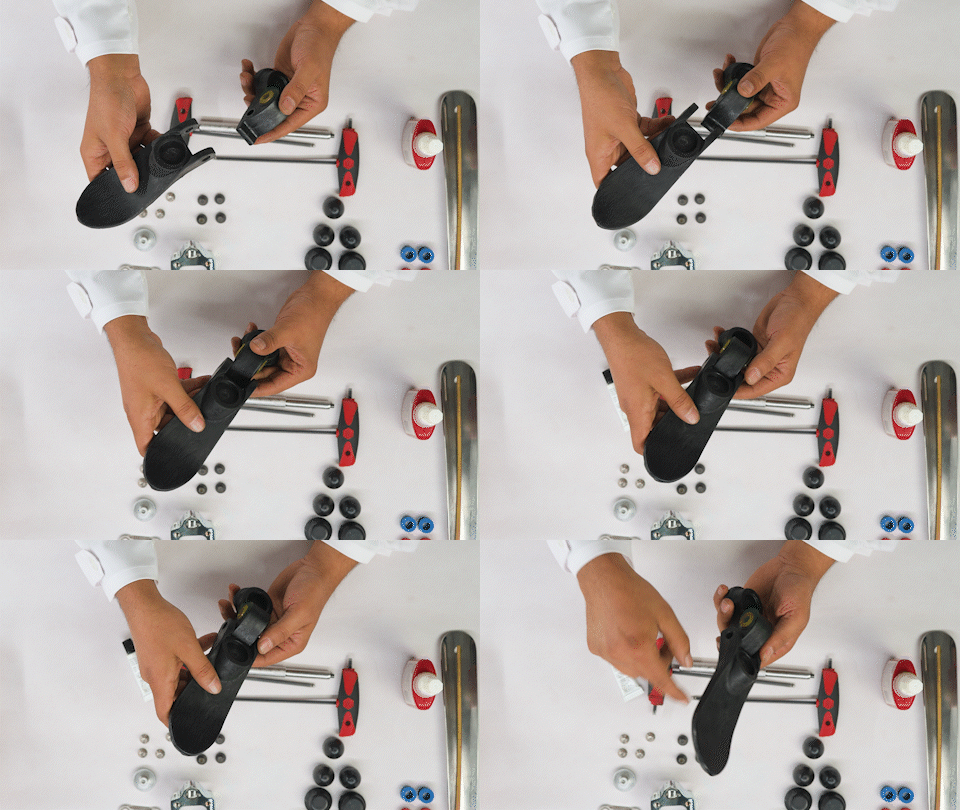

Install the Forefoot
Position the forefoot assembly and use the dedicated installation tool to insert the axial pin smoothly through the assembly.

The Dedicated Installation tool
To install and secure the axial pin, use the dedicated installation tool. Insert the tool through the assembly and slide the axial pin into position from one side. Apply a small drop of threadlocker to the retaining screw before tightening it to prevent loosening during long-term use.
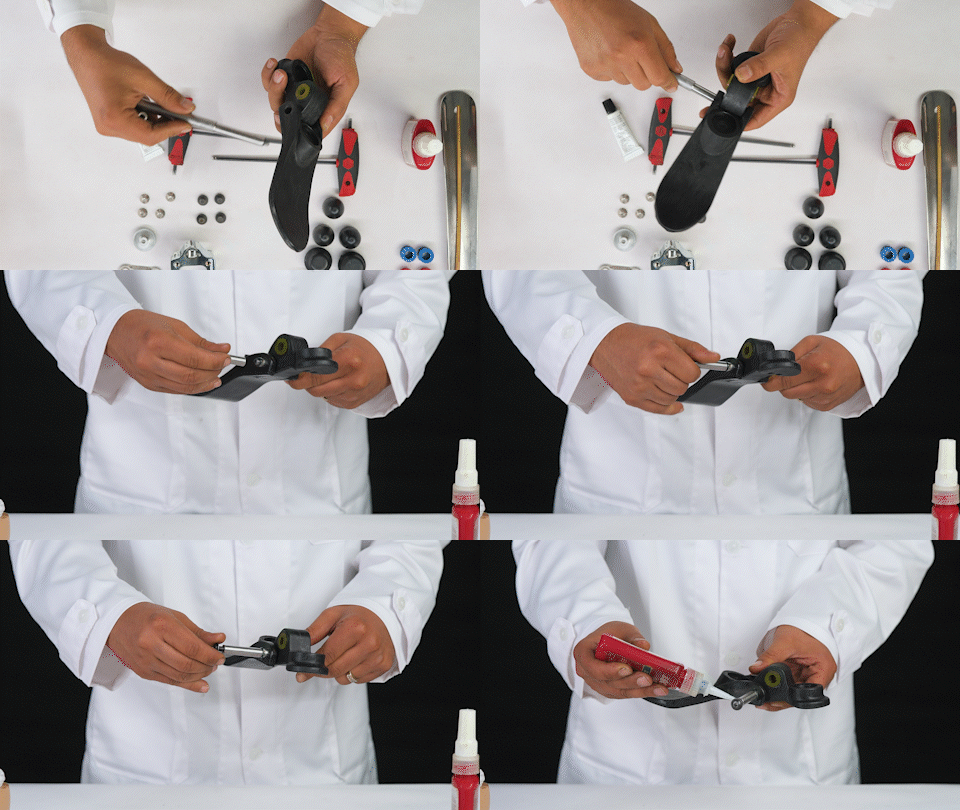


Secure the Axial Pin
Once the first screw is secured, push out the installation tool and repeat the same procedure on the opposite side, applying a small amount of Loctite before tightening the second retaining screw. Finally, tighten both screws simultaneously from opposite sides to ensure the axial pin is fully secured.

Install the Bumpers
Install the rear and front bumper. Select bumper stiffness according to patient requirements and ensure both bumpers are fully seated. Different bumper options are available to accommodate various stiffness settings. You can download the guide here.

Prepare the Endo Component
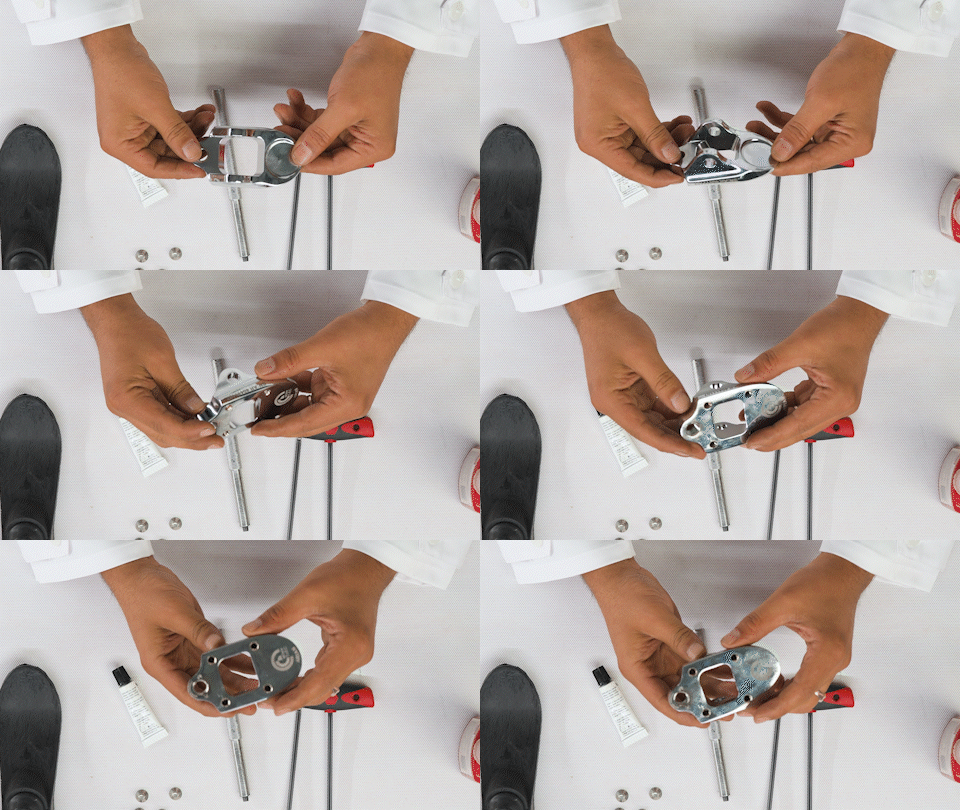
Insert the adjustment screw into the Endo component to prepare it for installation.

Install the Endo Assembly
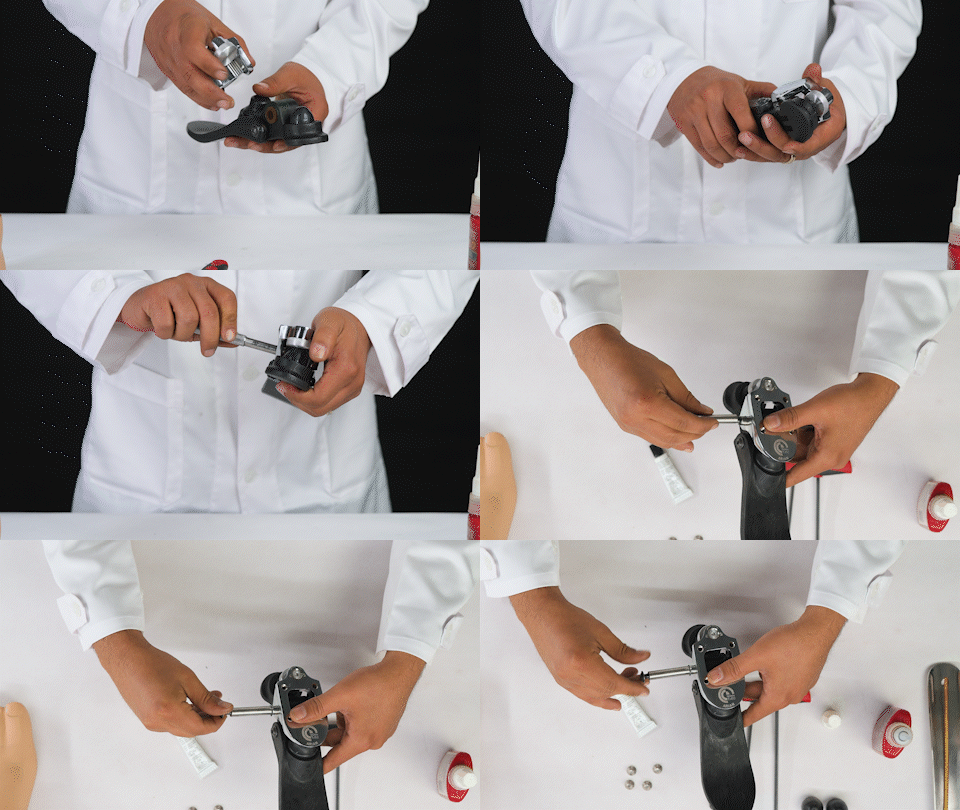
Seat the Endo component using the installation tool, reinstall the axial pin, apply threadlocker, and tighten the retaining screws.


Removing The Installation Tool
Rotate the installation tool clockwise while removing it to compensate for the assembly preload and allow smooth extraction. Install the second axial pin retaining screw using another small drop of threadlocker , then tighten both retaining screws simultaneously with two 4 mm Allen keys to ensure proper clamping force.

Install the Pyramid Adapter
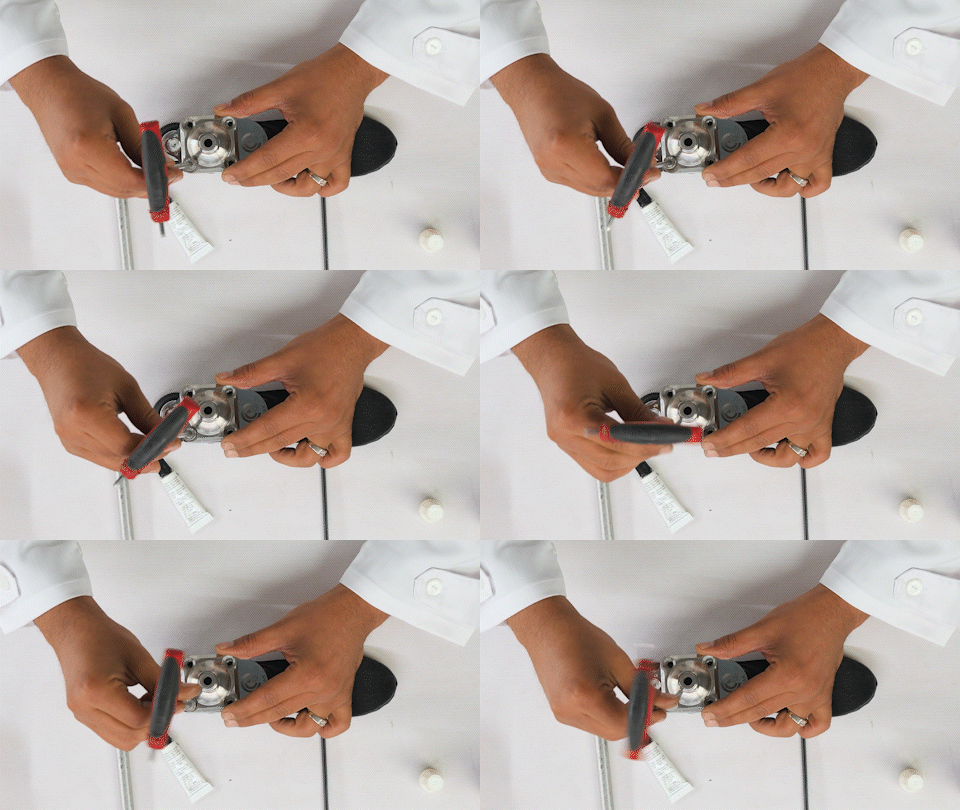
Attach the pyramid adapter to the completed prosthetic foot and secure it using the four mounting screws.


Insert into the Cosmetic Shell
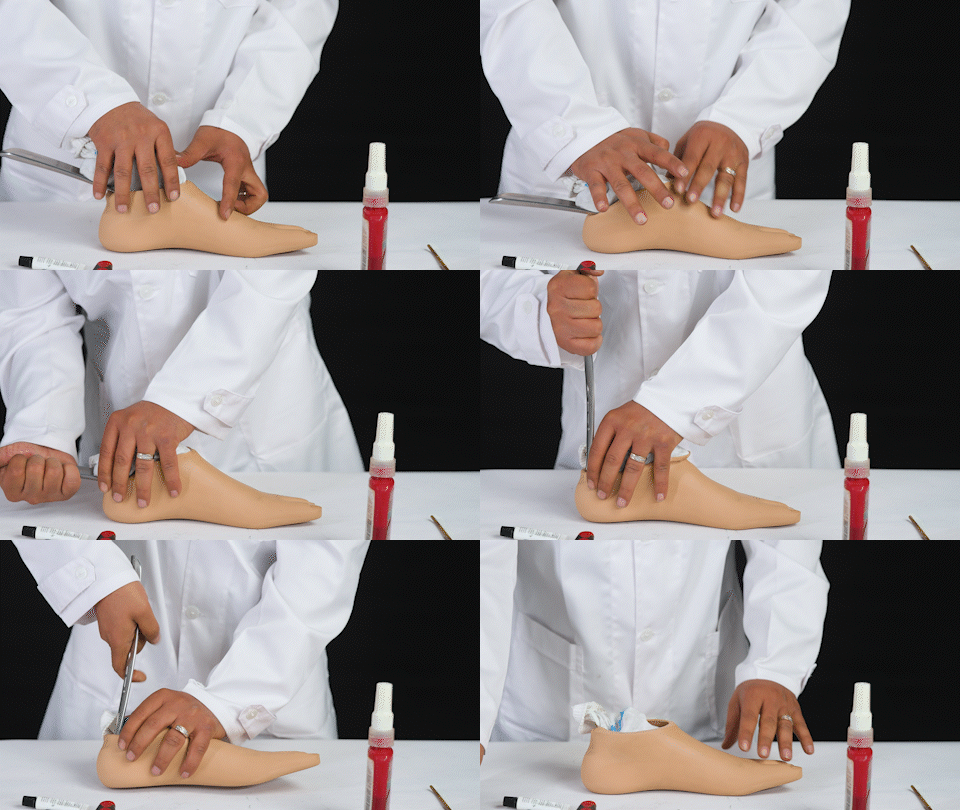
Install the protective foot sock, insert the prosthetic foot into the cosmetic shell, and place a shoehorn under the heel.

Completed Assembly
use a shoehorn to guide the forefoot beneath the shell while applying gentle pressure. Continue guiding the heel into position until the foot is fully seated inside the cosmetic shell, then remove the shoehorn.


The End
Congratulations the prosthetic foot is now fully assembled, inspected, and ready for alignment and patient fitting.